
Kali ini kita akan membahas cara mengunggah proyek Next.js ke hosting cPanel. Sebelum kita mulai, apa itu NextJS? NextJS adalah framework JavaScript yang dirancang untuk membangun aplikasi web berperforma tinggi dengan pengoperasian yang mudah.
Sebelum melanjutkan, pastikan Anda telah memenuhi persyaratan berikut:
- Aplikasi NextJS siap untuk deployment.
- Sudah diuji coba di localhost.
- Pastikan akses terminal pada paket hosting anda sudah aktif. Jika belum silakan diajukan dahulu melalui Tiket Support.
Cara Upload NextJS di Hosting cPanel
-
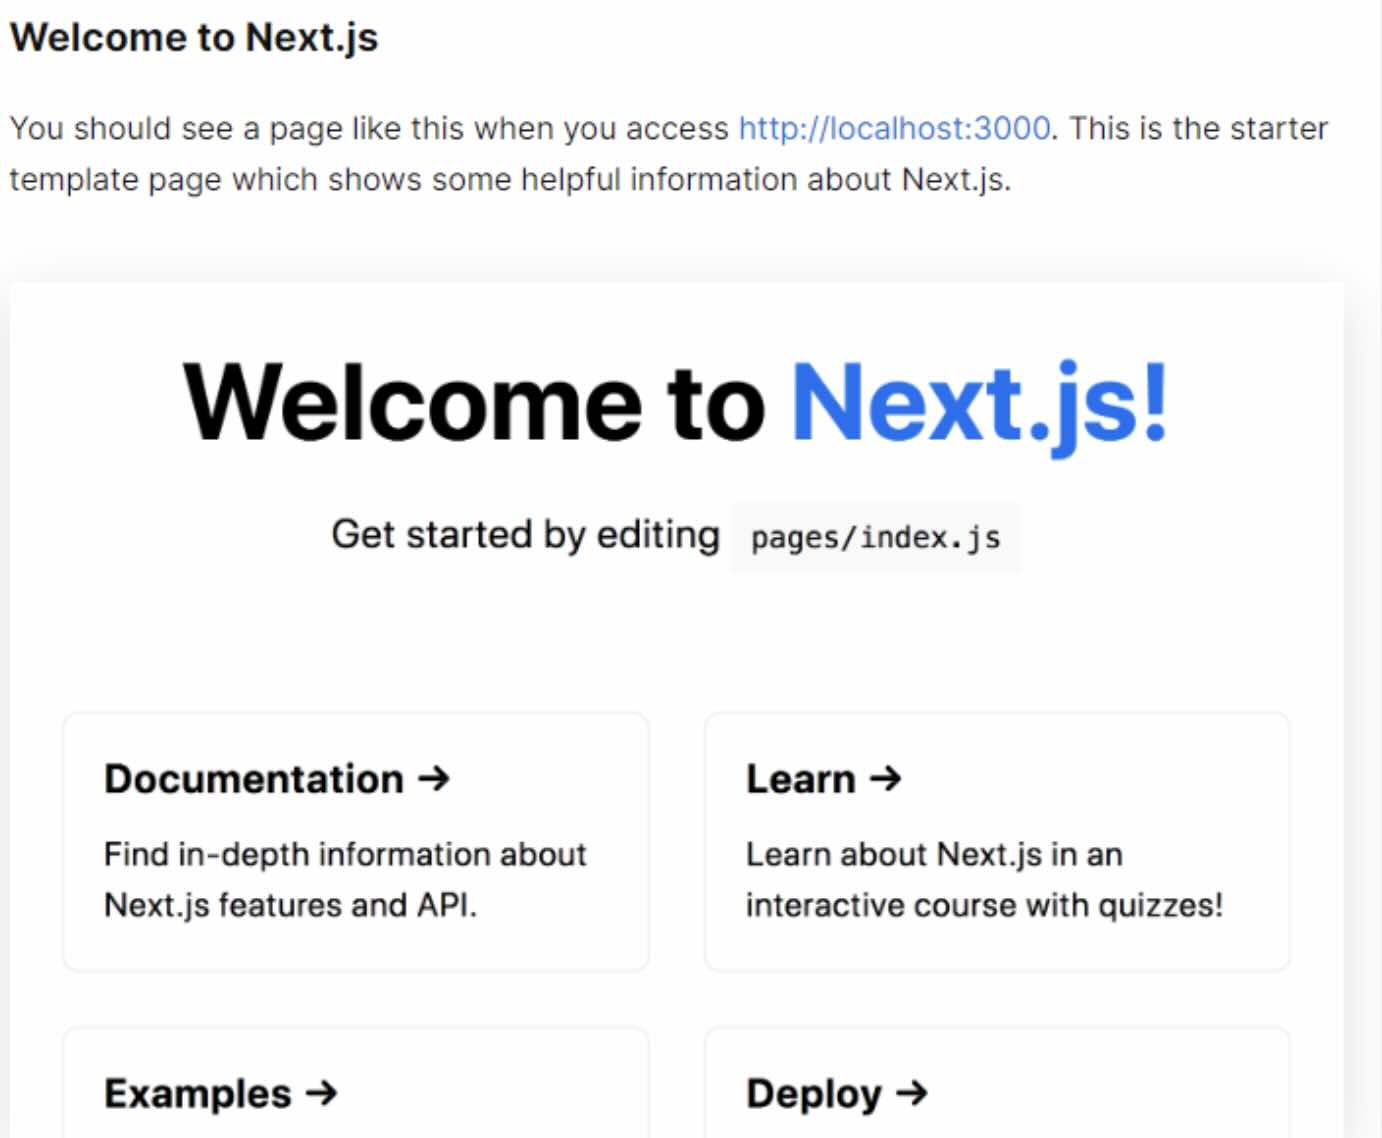
Pastikan bahwa NextJS sudah berjalan dengan baik di localhost Anda.
-
Kemudian buat file server.js di proyek NextJS Anda. Berikut adalah contoh kode yang dapat digunakan:
“const port = process.env.port || 8080“. Pastikan port menggunakan 8080.const { createServer } = require('http') const { parse } = require('url') const next = require('next') const dev = process.env.NODE_ENV !== 'production' const hostname = 'localhost' const port = process.env.port || 8080 // when using middleware `hostname` and `port` must be provided below const app = next({ dev, hostname, port }) const handle = app.getRequestHandler() app.prepare().then(() => { createServer(async (req, res) => { try { // Be sure to pass `true` as the second argument to `url.parse`. // This tells it to parse the query portion of the URL. const parsedUrl = parse(req.url, true) const { pathname, query } = parsedUrl if (pathname === '/a') { await app.render(req, res, '/a', query) } else if (pathname === '/b') { await app.render(req, res, '/b', query) } else { await handle(req, res, parsedUrl) } } catch (err) { console.error('Error occurred handling', req.url, err) res.statusCode = 500 res.end('internal server error') } }).listen(port, (err) => { if (err) throw err console.log(`> Ready on http://${hostname}:${port}`) }) }) -
Edit file package.json pada project NextJS anda di bagian “start” menjadi
"start": "NODE_ENV=production node server.js".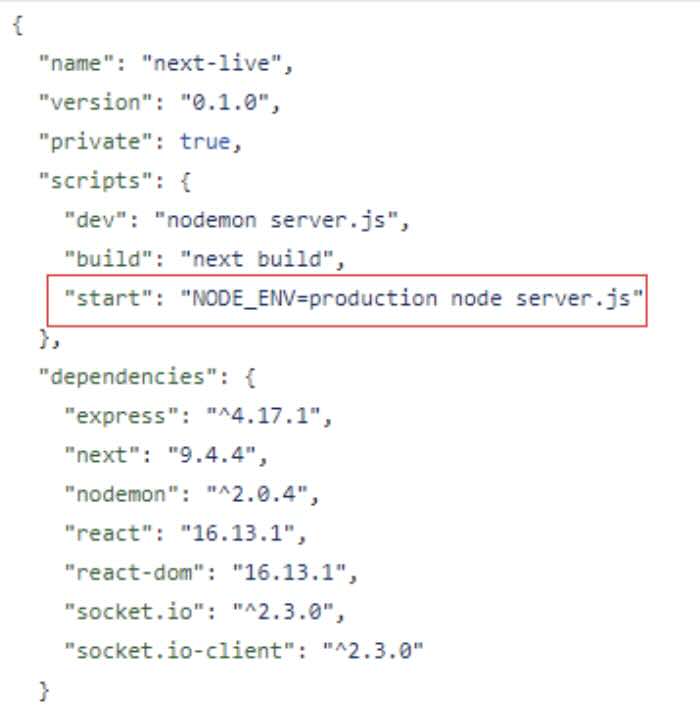
-
Jalankan perintah
npm run builduntuk membangun aplikasi Anda.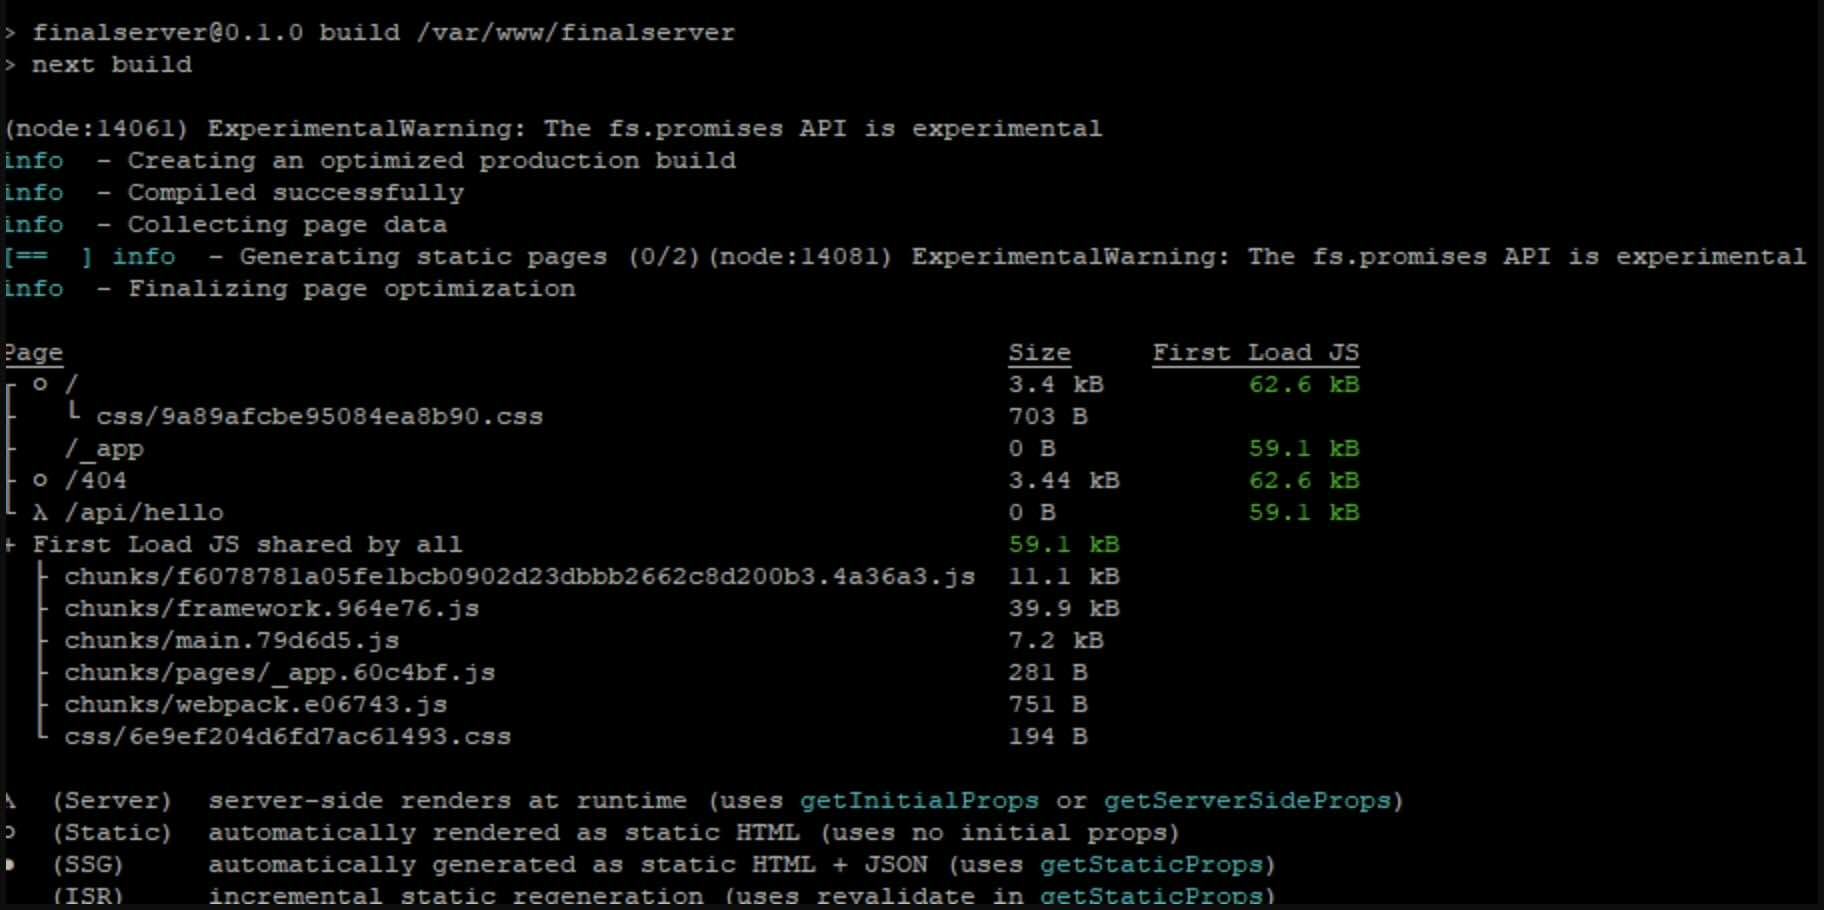
-
Kompres seluruh file proyek ke dalam format ZIP, kecuali folder ‘node_modules’.
-
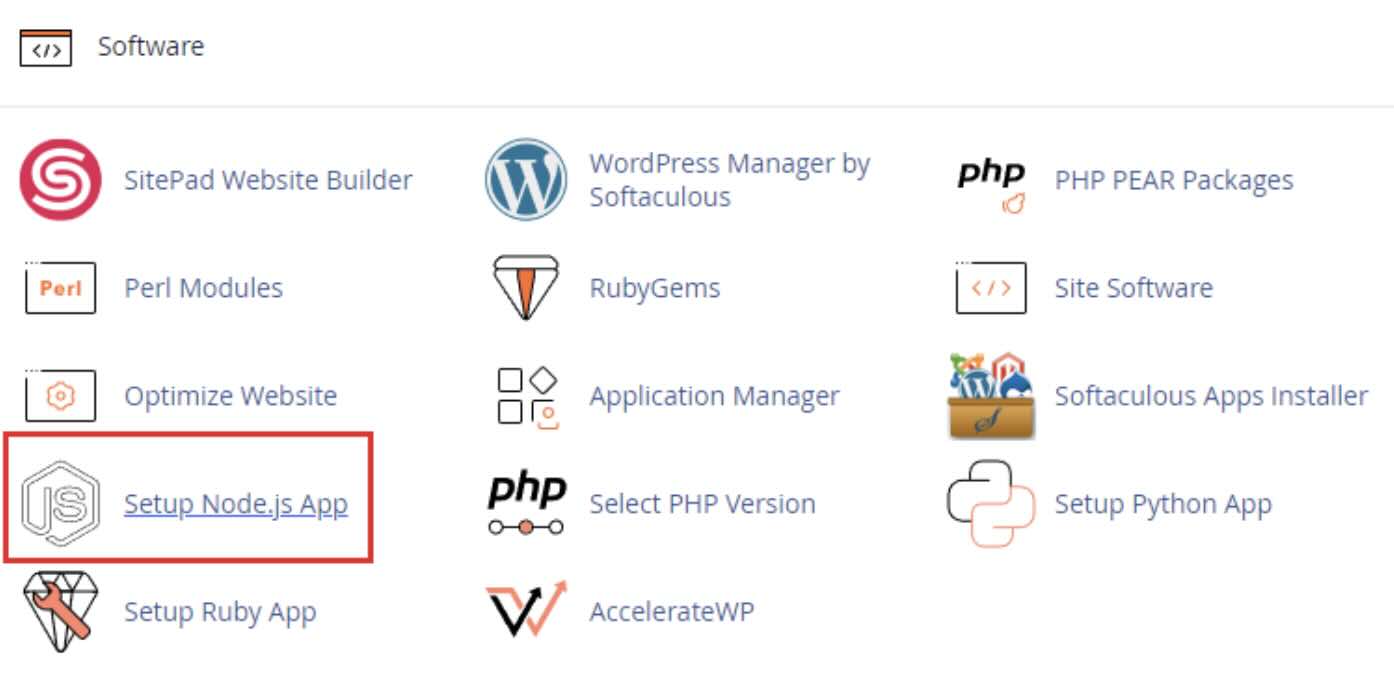
Masuk ke cPanel hostingceria Anda kemudian klik icon Setup NodeJS App.
- Klik Create Application

- Konfigurasikan aplikasi NodeJS anda sesuai informasi berikut ini:
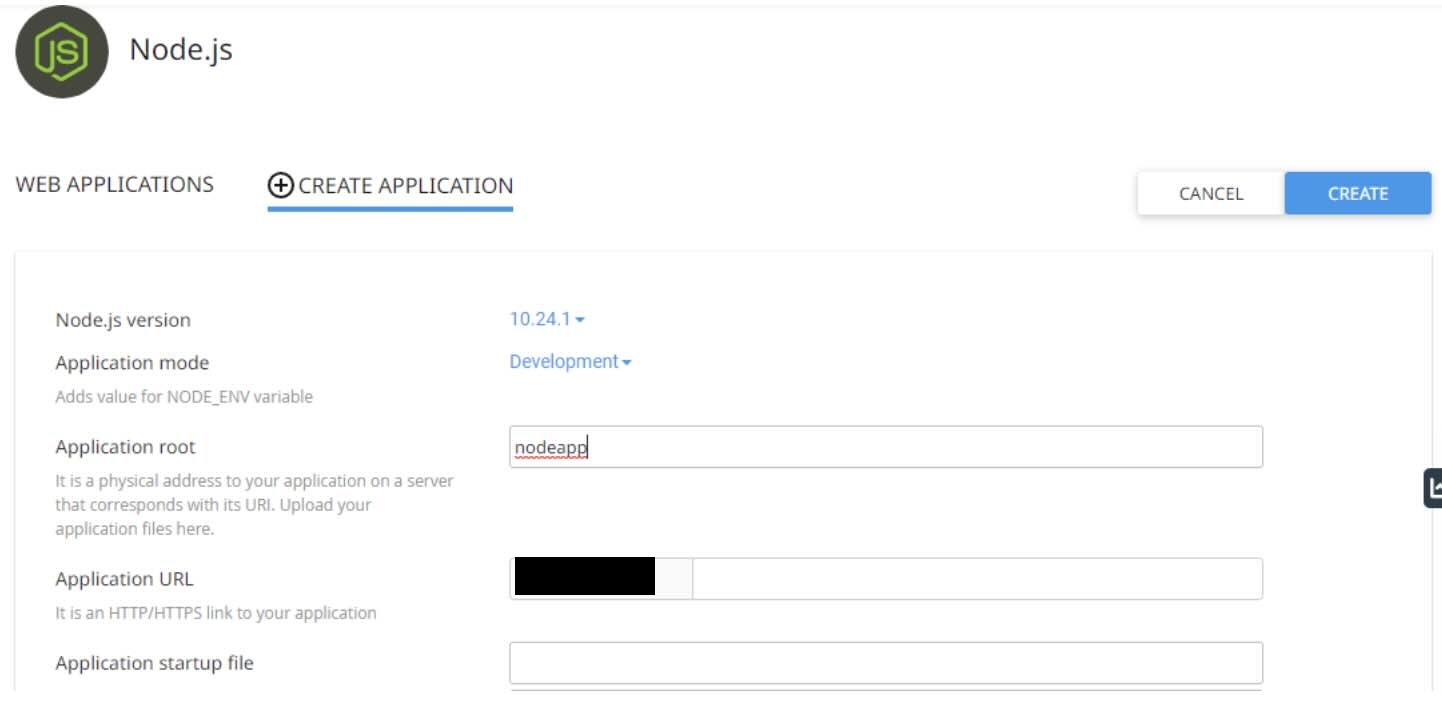
Node.Js version : pilih versi NodeJS sesuai dibutuhkan.
Application mode : kamu dapat memilih opsi yang tersedia yaitu untuk development / production.
Application root: lokasi atau nama direktori file aplikasi nodeJS anda.
Application URL : Alamat akses URL aplikasi untuk mengakses website yang dibuat.
Terakhir klik Create di pojok kanan atas - Apabila sudah selesai setupnya maka akan muncul tampilan seperti dibawah ini.
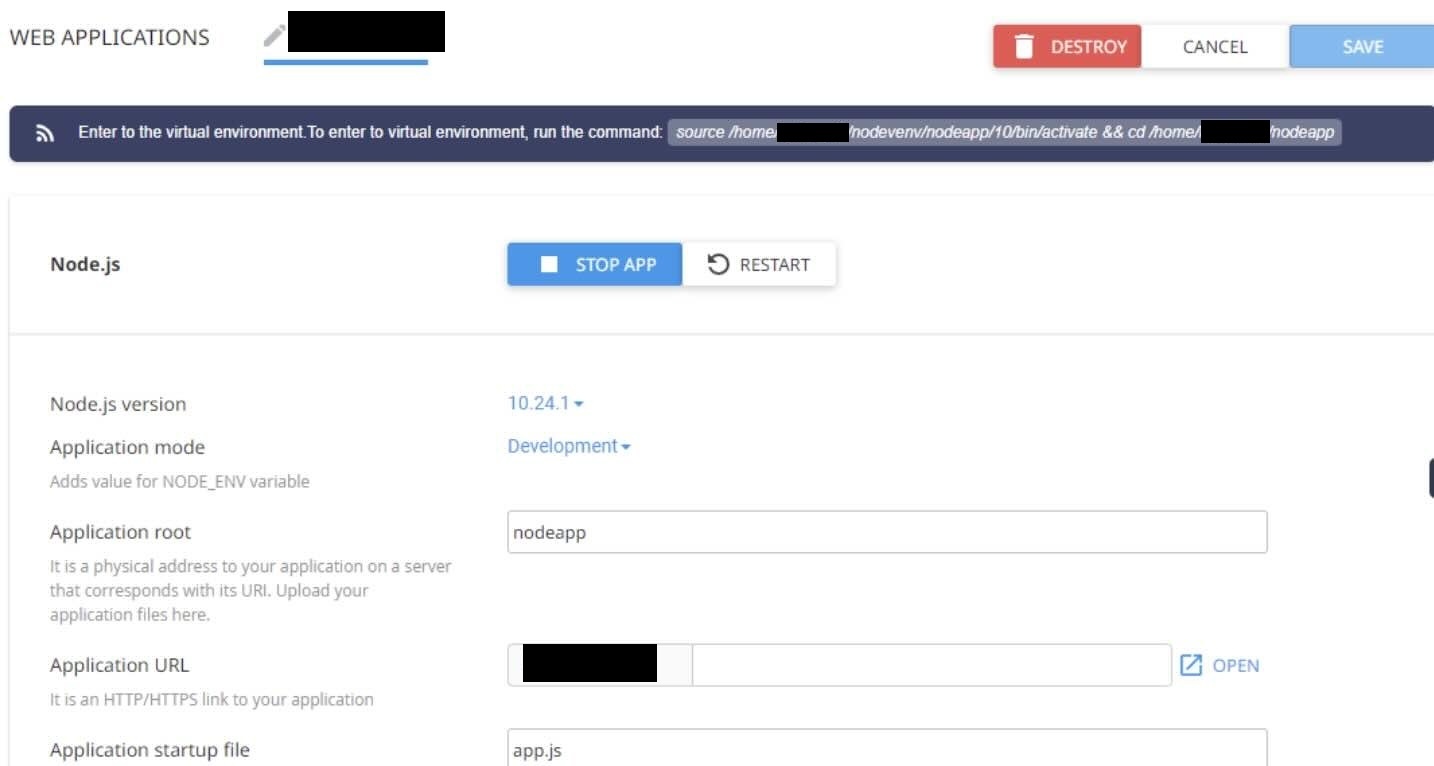
-
Kemudian Upload dan ekstrak file ZIP NexJS ke File Manager di cPanel hostingceria.
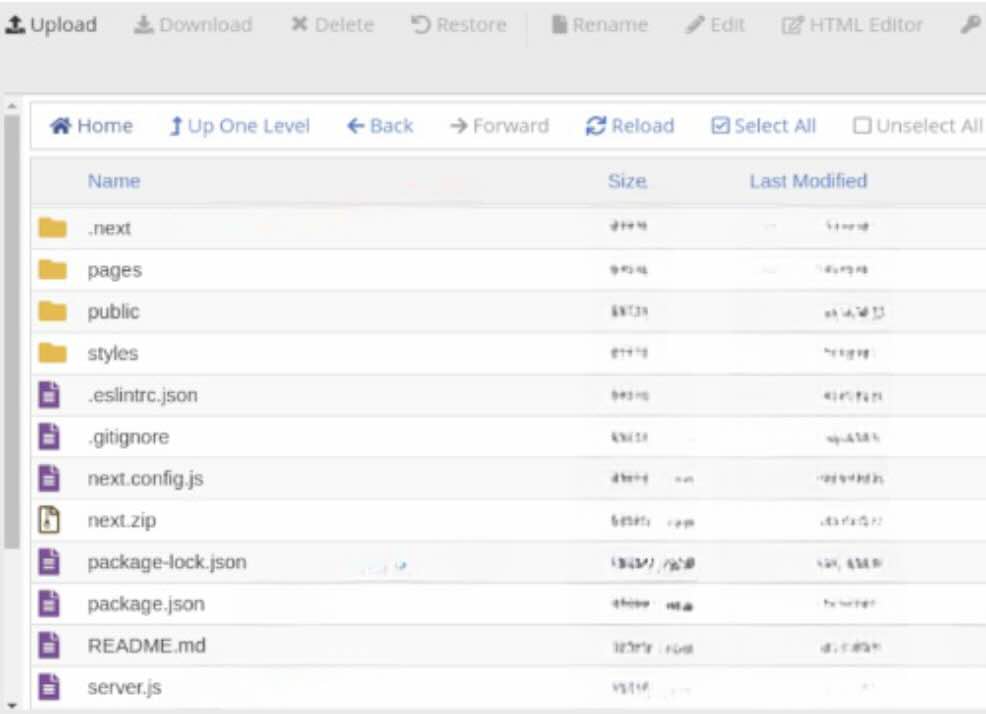
-
Kembali ke menu cPanel >> Setup Node.JS App, kemudian copy command virtual environment project NodeJS anda.
-
Masuk pada menu cPanel >> Terminal, kemudian paste command virtual environment sebelumnya dan tekan enter.
Setelah itu jalankan command npm install,kemudian tunggu proses ini sampai selesai.
- Kembali ke menu cPanel >> Setup Node.JS App, kemudian klik tombol Restart.
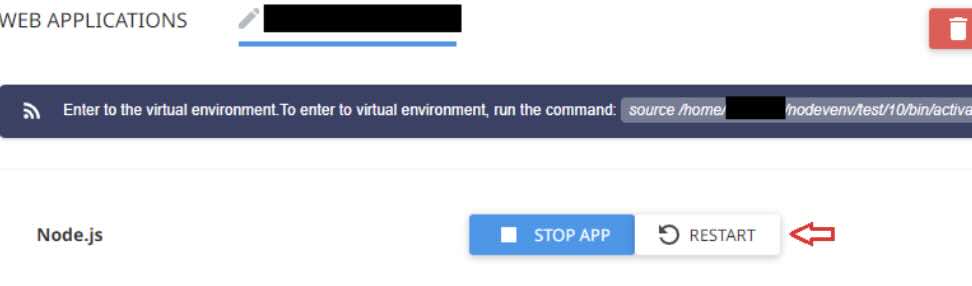
- Kunjungi kembali situs URL website anda, jika sudah muncul tampilan kurang lebih seperti ini maka instalasi NextJS anda sudah berhasil!
Dengan mengikuti langkah-langkah di atas, Anda dapat berhasil mengunggah aplikasi Next.js ke hosting cPanel hostingceria Anda. Selamat mencoba!
